Navigation & Selection
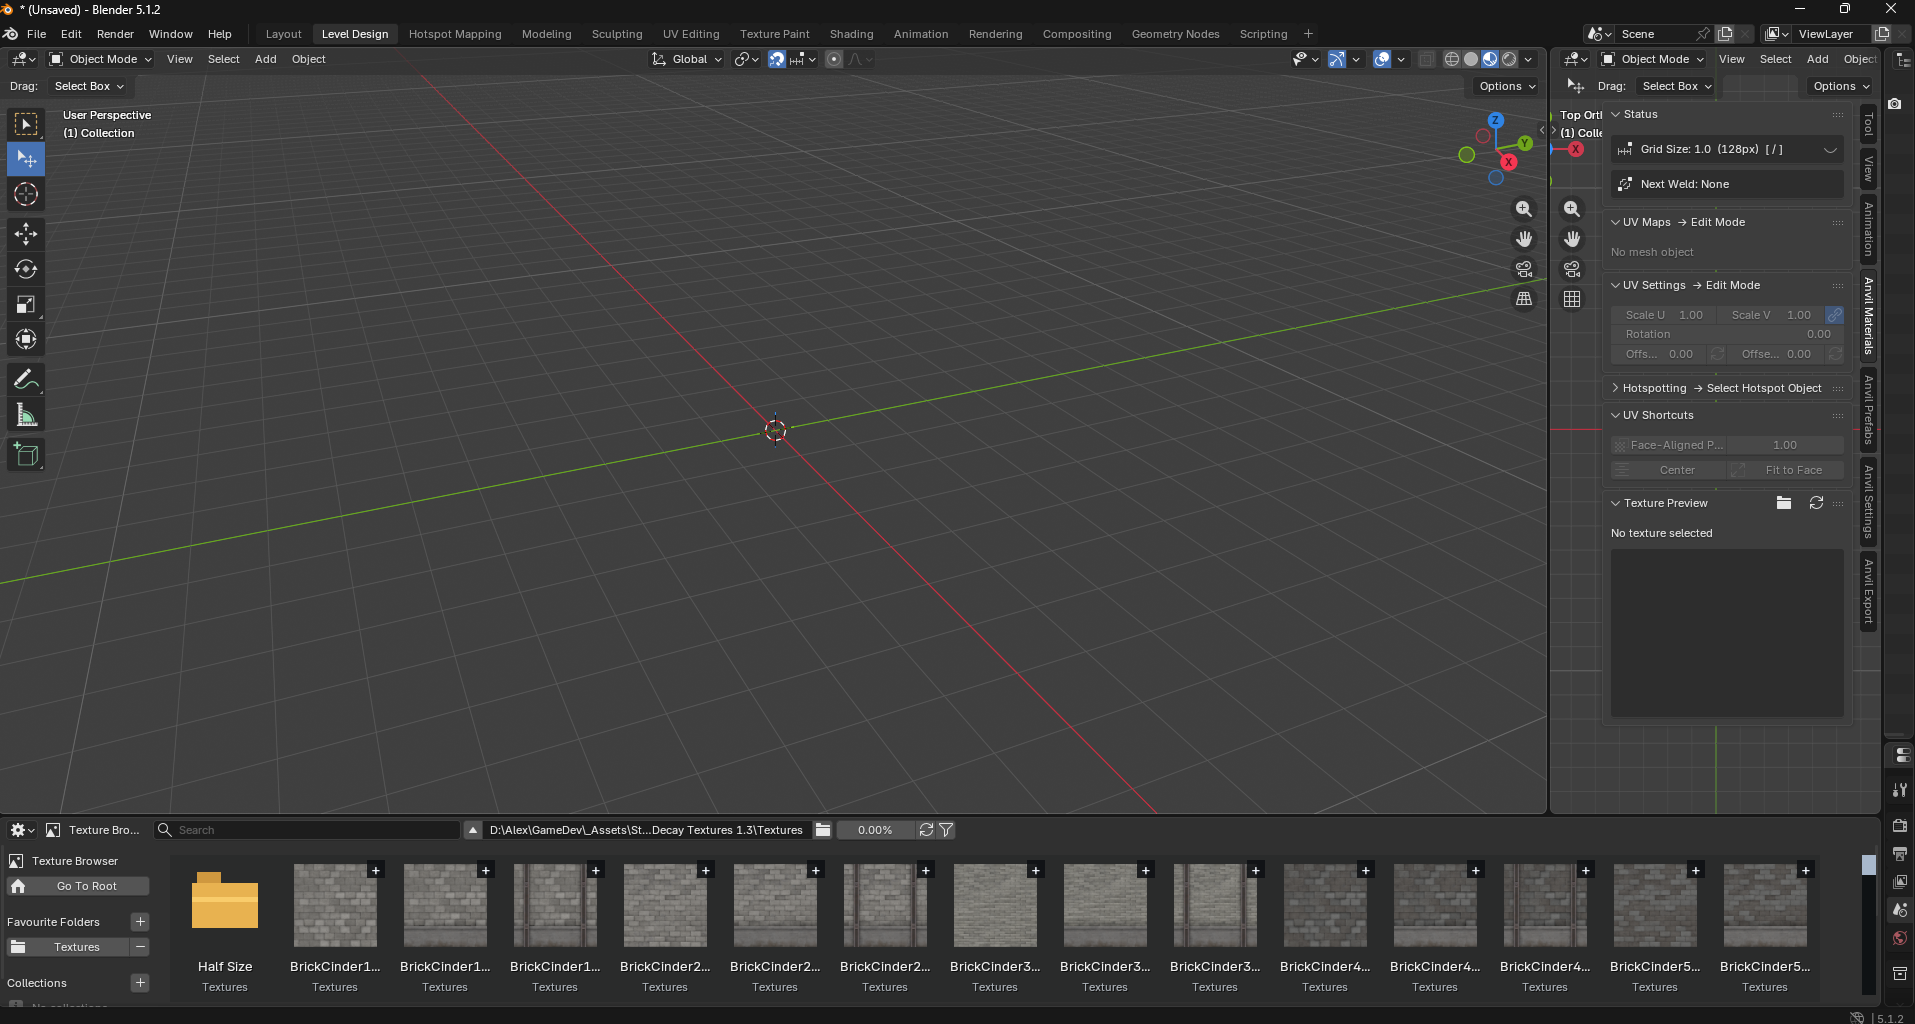
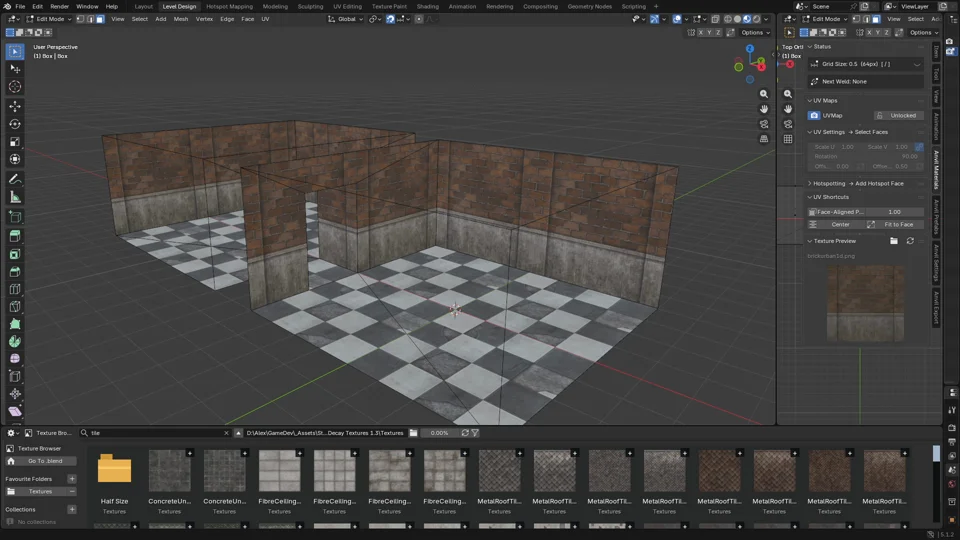
Level Design Workspace
Anvil adds the Level Design workspace. You must be in this workspaces to use Anvil features.

Camera Controls
Hold Right Mouse to enter free look. Move around using WASD. Sprint using Shift.
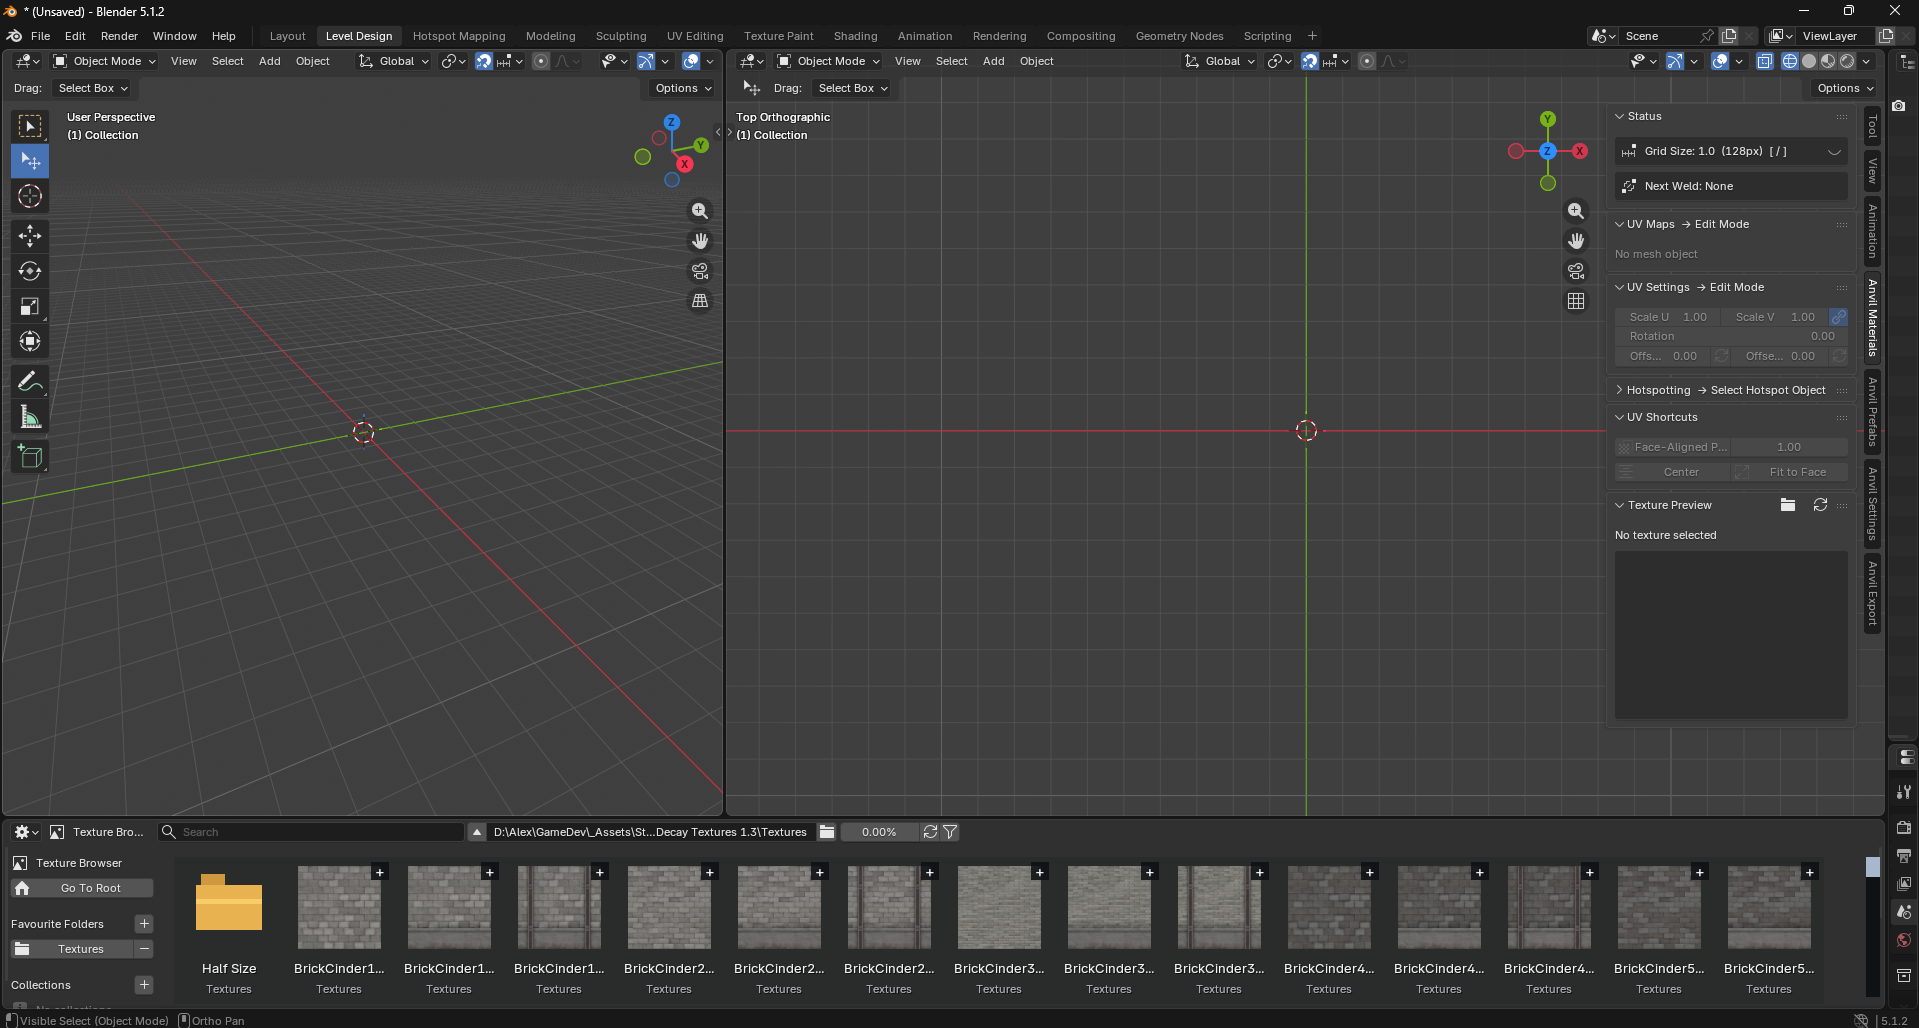
Pan the orthographic view using Middle Mouse. Rotate the orthographic view using 1/3/7/9.
Context Menu
Anvil taking Right Mouse for free look overrides the default hotkey to open the context menu.
Use Ctrl-Right Mouse instead.
Visible Select
Anvil includes a new selection tool: Visible Select. It can be found between the Blender select and Blender cursor tools.
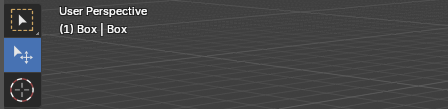
Visible Select always ignores culled faces. In contrast, the built-in select operators all either collide with faces pointed away from the camera, or - when x-ray mode is enabled - require hitting a small square in the centre of each face. Visible Select is intended to make modelling interiors more convenient.
Visible select includes add-to-selection Shift and path-select Alt.
Holding add-to-selection Shift while dragging will paint select.
Select Connected
Anvil replaces Blender’s built-in Select Connected.
Hover over a mesh with your cursor and use L to select all connected parts.

Hover over a mesh with your cursor and use Ctrl-L to select all connected parts that share the same normal.
Shift-L will add a connected island to the current selection.
Ctrl-L on the same face will grow the selection by near normals.
Ctrl-Shift-L will shrink the selection by near normals.
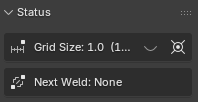
Grid Controls
Use [ / ] to double and half the current grid snap size.
Use Alt-G or eye icon to toggle the face grid overlay.
Use Ctrl-G to toggle between incremental and grid snap.
Place Cursor
Use Shift-X to enter Place Cursor mode.
Place Cursor uses Anvil’s point select base workflow.

Left Mouse selects the current point.
Esc exits without making changes.
Ctrl fixes the current selection plane.

Point selection respects Blender's snapping mode; when snapping is disabled, point selection will not snap.