Material & UV Management
Anvil provides a signficantly different material application workflow compared to default Blender. It is directly inspired by Hammer and Trenchbroom. To make the most of Anvil, read this page in detail and make use of all the shortcuts provided!
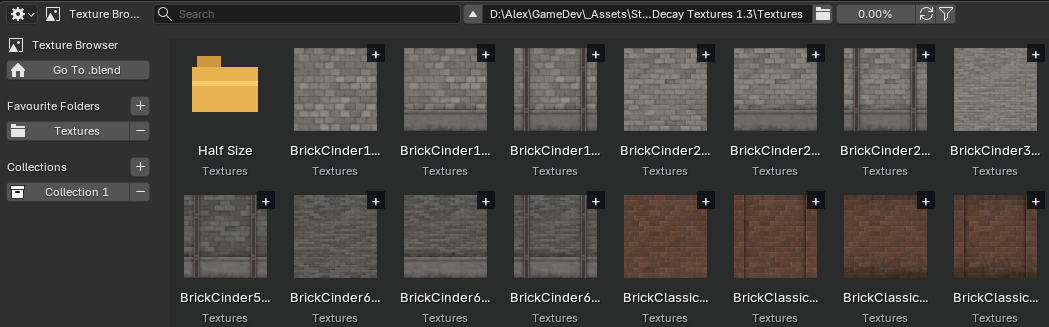
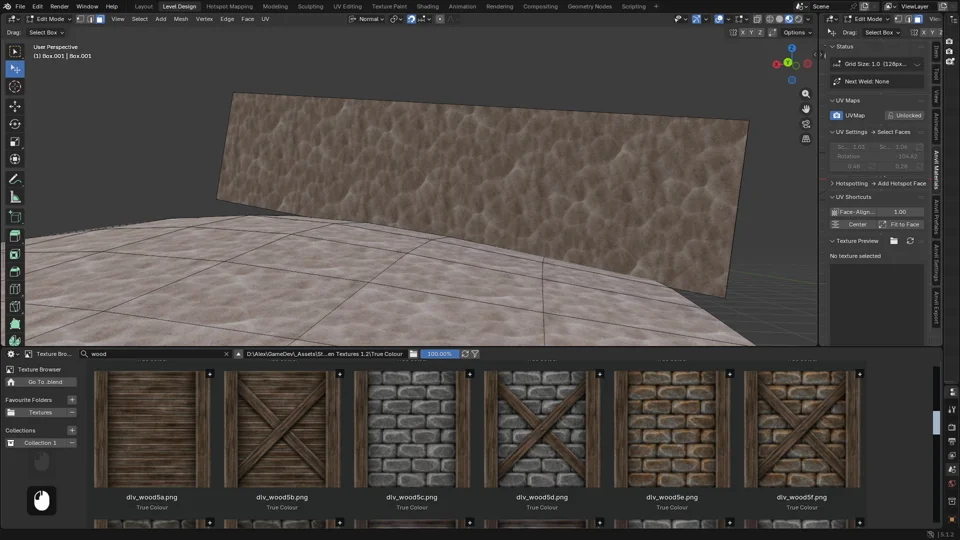
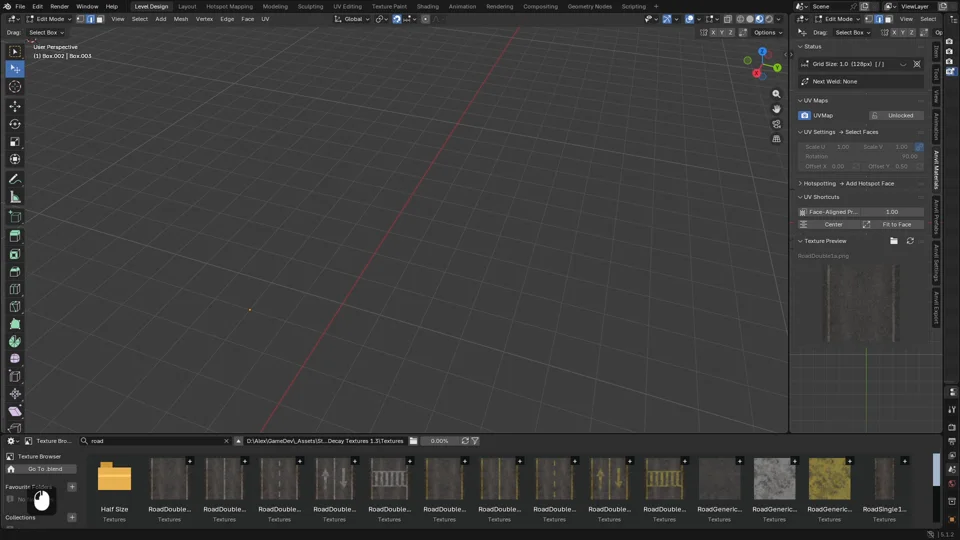
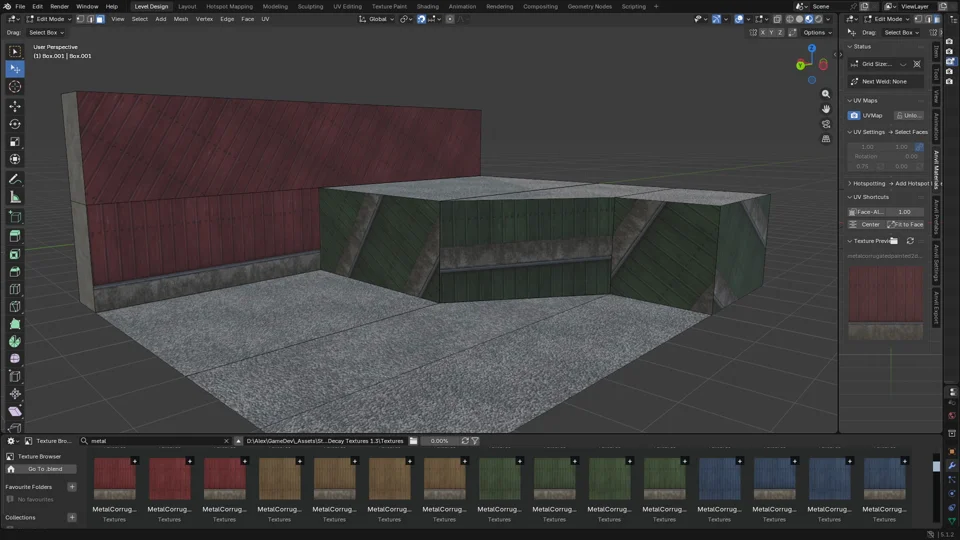
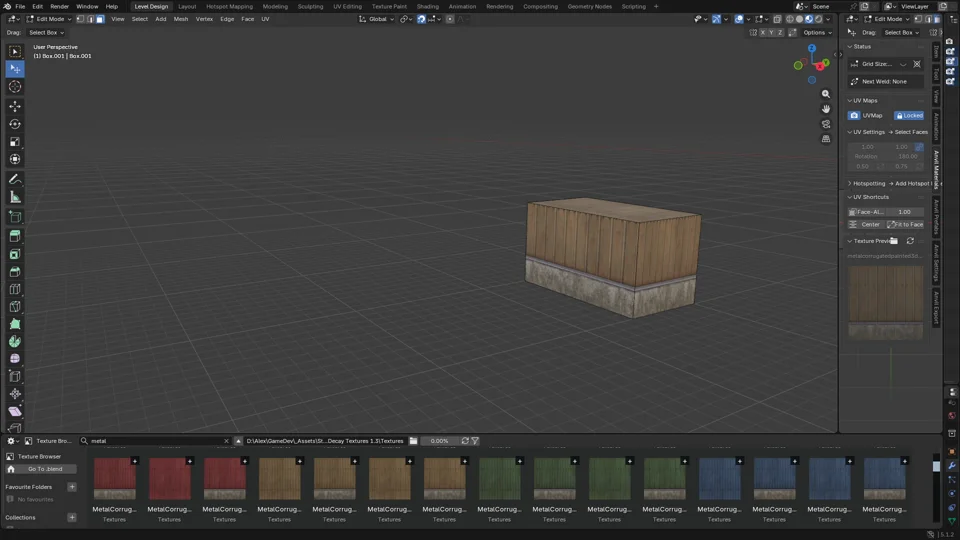
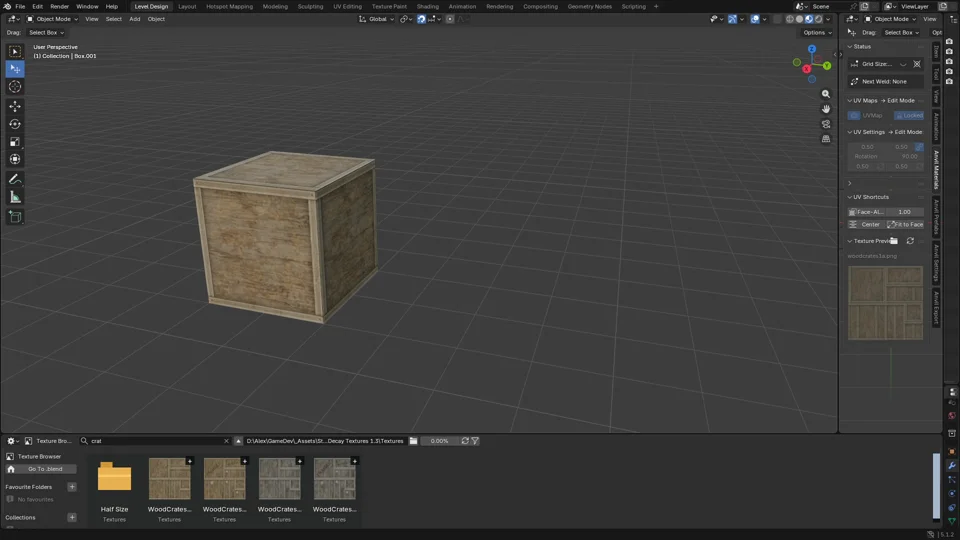
Applying Materials (The Texture Browser)
Anvil treats image files as the primary identifier of materials. Correspondingly, folders and collections of image files make up your palette.
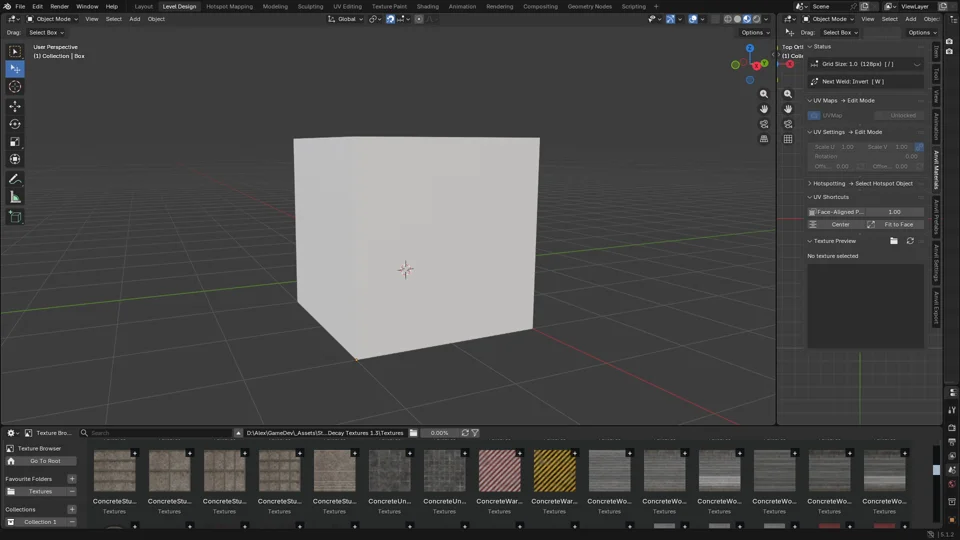
Anvil includes a Texture Browser in the Level Design workspace for finding and grouping image files.
To apply your first Material select an object or face in the 3D view, then select an image file.
Use the + and - buttons in the left sidebar to add the current folder to favourites, and to add new collections.
Use the + button at the top right of each image to assign it to a collection.
The filter button in the header controls which file types are shown; the Texture Browser will ignore for example .meta files from a game engine adjacent to image files.
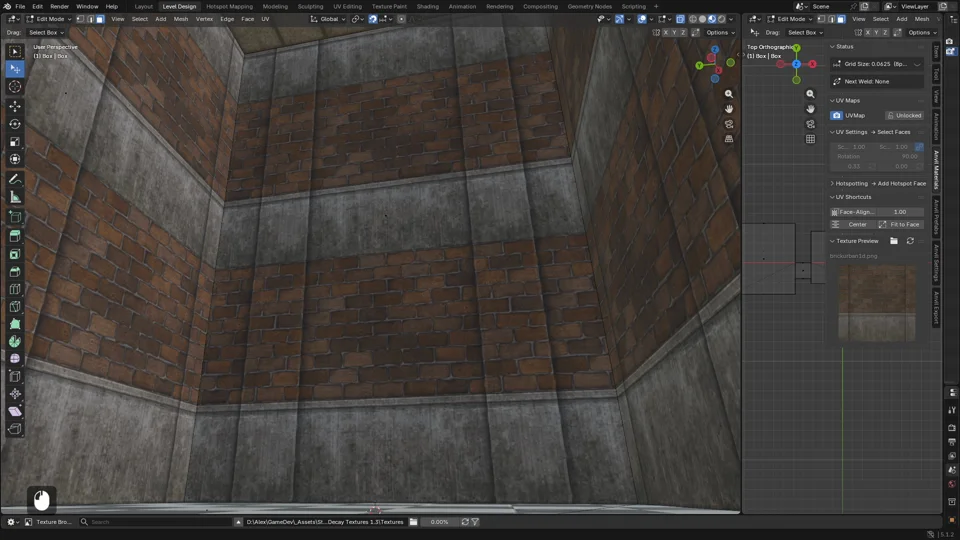
Face Snapping Mode
Select a single face and press T to enter Face Snapping (single) Mode. The bottom edge of the image texture will snap to the nearest edge based on cursor position. Use:
- W/A/S/D to set other edges of the image texture as the snap base
- Q to set the scale so the image vertically fits the face maintaining aspect ratio
- E to set the scale so the image horizontally fits the face maintaining aspect ratio
- R to reset the scale to 1.0, 1.0
Press Left Mouse to confirm changes. Esc cancels changes.
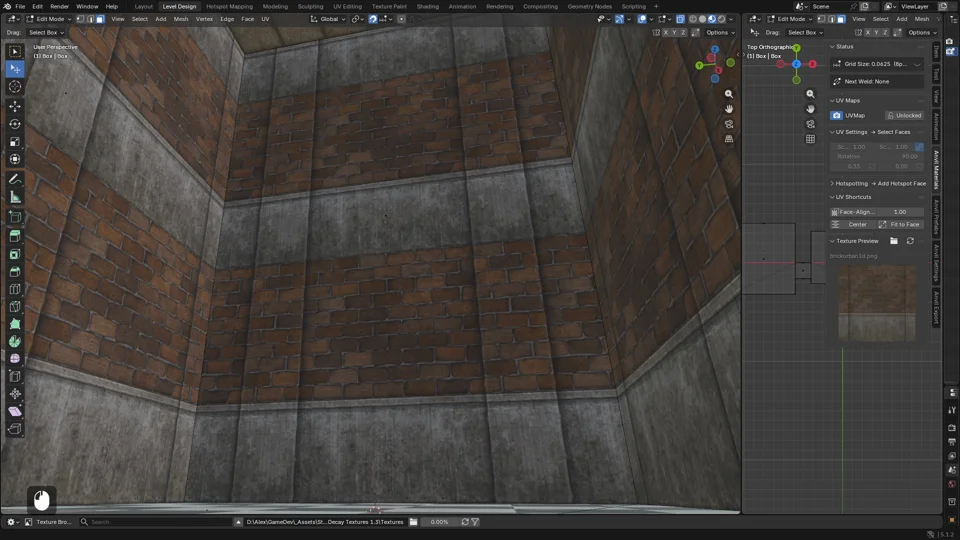
Select multiple connected quad faces and press T to enter Face Snapping (grid) Mode. The controls remain the same; the UV approach is different. Face Snapping (grid) mode will attempt to conform the image across curved shapes.
UV Transform Mode
Shift-T enters manual UV Transform mode. Use the widgets to:
- Scale (axis locked or both)
- Move (axis locked or both)
- Rotate
Applying Materials (Shortcuts)
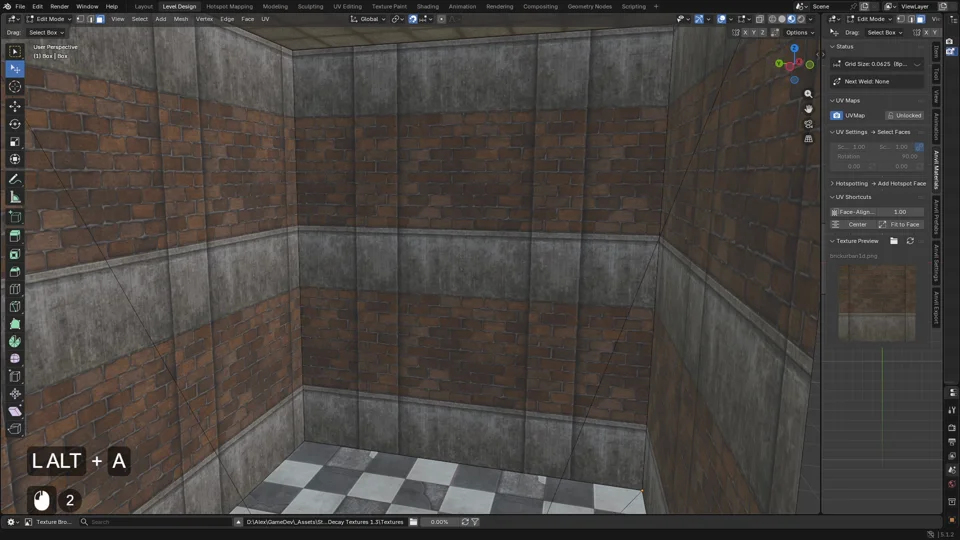
Select a single face and Alt-Left Mouse other faces to apply the material and tile the UV. Painting (holding down the hotkey and dragging the mouse over multiple faces) works too!
Select a single face and Alt-Left Mouse other faces to tile the UV only. Painting also works here!

Select a single face and Shift-Alt Right Mouse other faces to copy the UV (stretching if the faces are different sizes). Painting also works here!
Select a single face and Alt Right Mouse another face to pick the material tile the UV back.
Select a single face and Alt Right Mouse another face to tile the UV back only.

Select a single face and Shift-Alt Right Mouse another face to copy the UV back (stretching if the faces are different sizes).
Shift-Alt Right Mouse
Anvil Materials Panel
Status
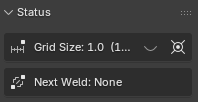
Displays the current grid size in Blender units and pixels.
Displays the next available Weld, such as inverting a newly built box or bridging/capping a Cube Cut when the current operation supports it.
Displays the Place Cursor tool.
UV Maps
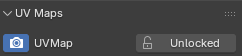
UV maps can be locked and unlocked.
When unlocked (default) Anvil ensures materials retain their offset, scale, and rotation in world space.

When locked materials will typically stretch with faces (Blender default behaviour; some exceptions may apply).
UV Settings
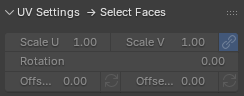
With faces selected Scale, Rotation and Offset can be manually adjusted.
These interface elements act both as normal number inputs (type a number and press enter) and sliders (click, hold and drag to adjust value).
The link button prevents horizontal and vertical scale from diverging.
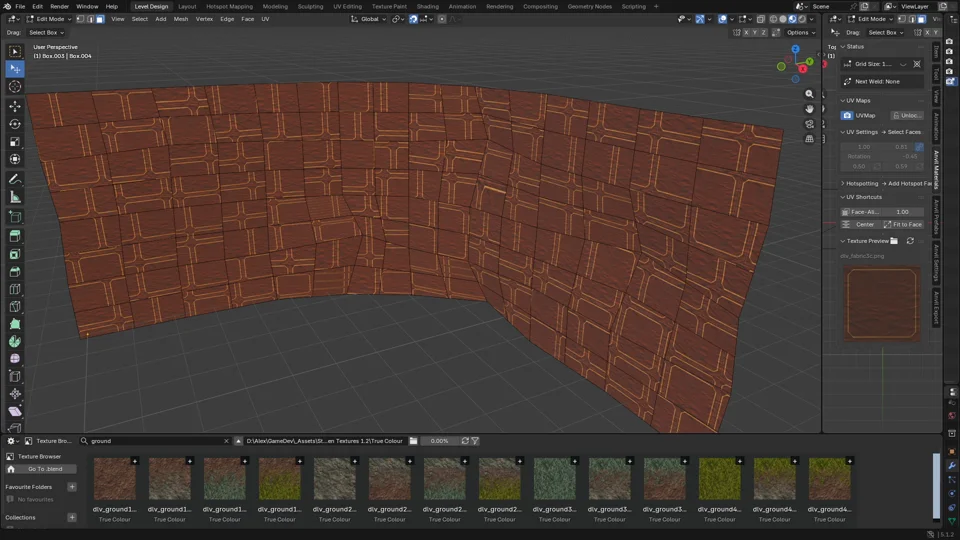
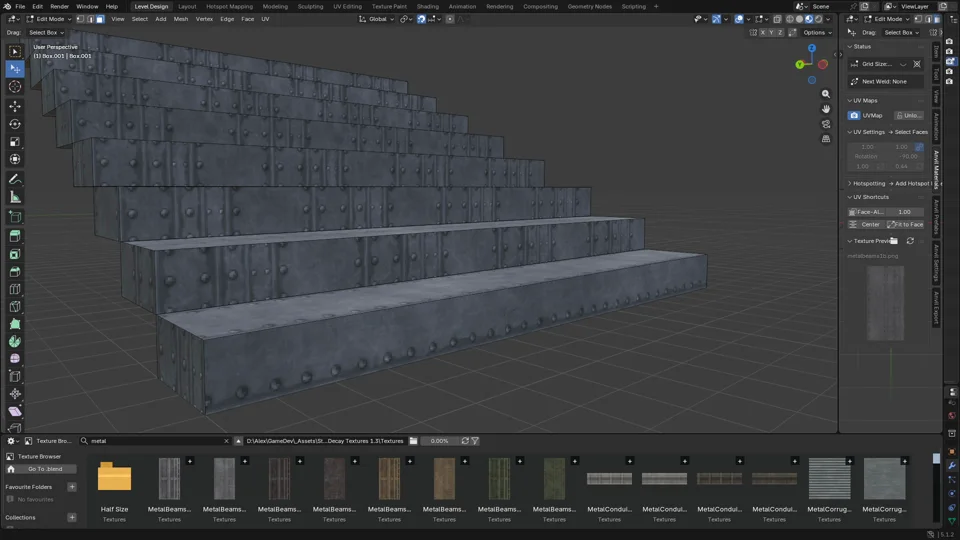
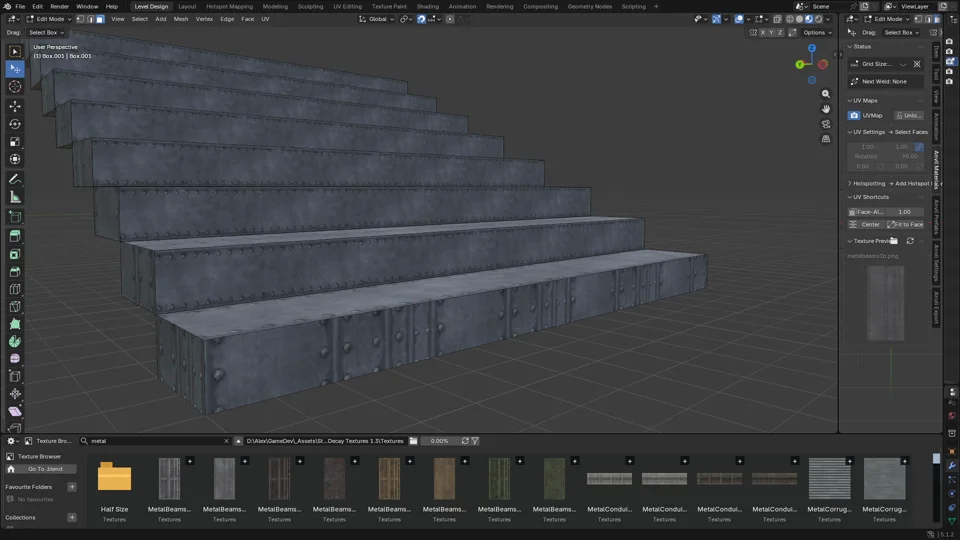
Each offset can be randomised using the adjacent buttons. For example, horizontal offset can be randomised on stairs to prevent each step looking the same while maintaining an appropriate trim.
Hotspotting
See Hotspots.
UV Shortcuts
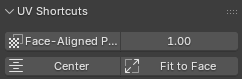
Each shortcut applies a UV scheme to all faces on the selected object in object mode, or all selected faces in edit mode.
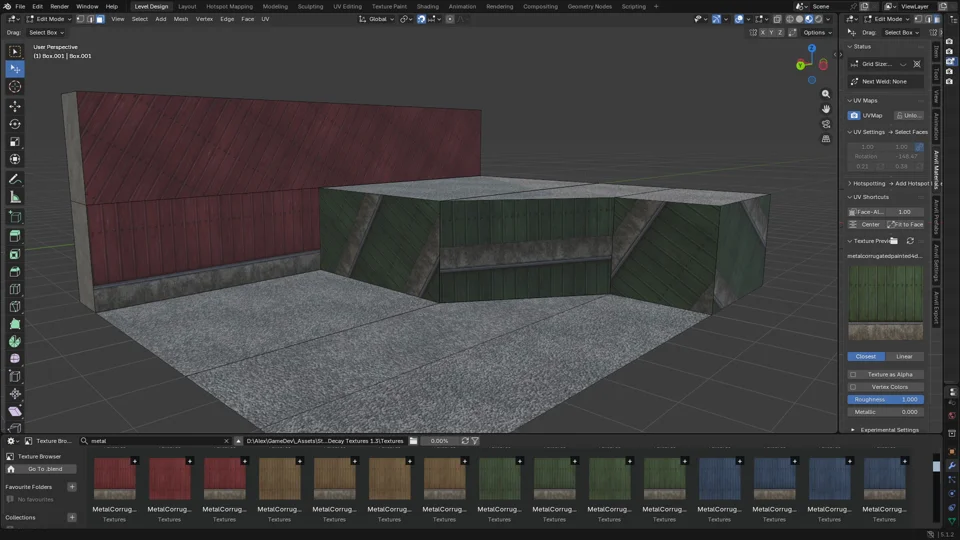
- Face Aligned Project UVs based on the direction that each face is pointing, keeping the texture square, non distorted, and ‘upright’ (scale can be adjusted in the adjacent field). Use it as a quick “make this texture sit correctly on these faces” button after creating or editing geometry.
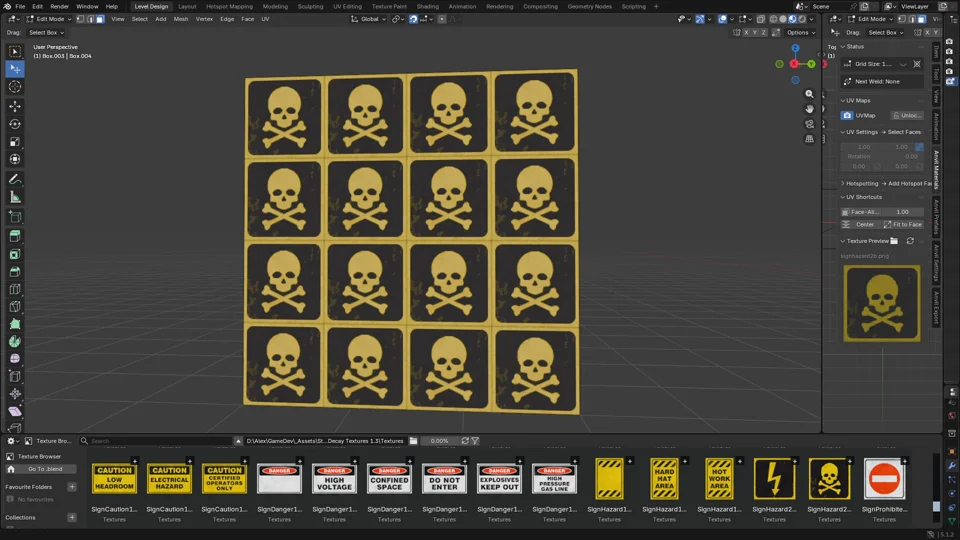
- Center keeps the same rotation and scale, and sets offsets so the centre of the texture lies at the center of each face. Use it in cases where the centre of the texture is important and trims don’t matter (street signs, perhaps).
- Fit to Face stretches the UV so that exactly one ’tile’ is visible. Fit to Face doesn’t rotate or distort the UV; for non-rectangular faces (and rectangular faces with a rotated UV) parts of the UV may not be visible. It is recommended to ensure the desired rotation is applied before triggering Fit to Face. See Face Snapping Mode, UV Transform Mode and UV Settings to adjust texture rotation.
Texture Preview
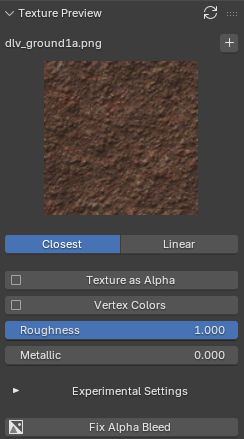
The Texture Preview panel displays the last selected texture.
When a face is selected, the Texture Preview panel exposes material settings.
The refresh button will refresh images i.e. press this when you edit an image outside of Blender to see the edit inside Blender.
The plus button will add the texture to a collection.
Closest vs Linear determines the filtering used. Choose Closest for visible discrete pixels.
Texture as Alpha instructs the shader material to use the texture’s alpha layer to drive transparency.
Vertex Colors instructs the shader material to blend vertex colors into the base color.
Roughness controls how fuzzy the material’s reflections are.
Metallic controls the strength of material’s reflection and how it is tinted.
Fix Alpha Bleed is not a material setting. It directly edits the active image file by changing the color stored in mostly transparent pixels, while leaving their transparency unchanged. This solves the case where transparent but colored pixels contribute to colored edges around cutout textures. Blender does have a material setting that fixes this, but it doesn’t survive the transition to .glb.
Anvil Settings Panels
Texture Settings

Setting Pixels per Meter determines how Anvil scale maps to Blender units. A pixels per meter setting of 128 means “when Anvil material scale is 1, an image sized 128 pixels will take up 1 Blender unit, and an image sized 256 pixels will take up 2 Blender units.”
This value is used when applying and scaling images, and during Hotspotting.
Default Material Settings
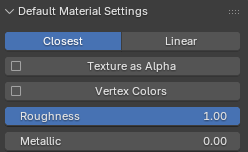
The same values as in the Texture Preview panel. Images that do not yet have a material will have their material created using these values when applied to a face for the first time.
If you want materials by default to have Vertex Colors enabled, for example, set that here.
Setting this value does not retroactively update existing materials.
For file-wide defaults that will be initialised in new .blend files, see Addon Preferences.
Debug
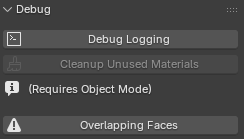
Enable Debug Logging to spam the Blender console with hundreds of logs. Generally only used when I need help debugging an issue.
Cleanup unused materials deletes materials that aren’t on any faces. Anvil doesn’t do this automatically to avoid clearing materials you may want to keep around. Unused materials won’t be exported anyway. Unlikely you would need this. Provided for those particular about keeping their workspace clean.
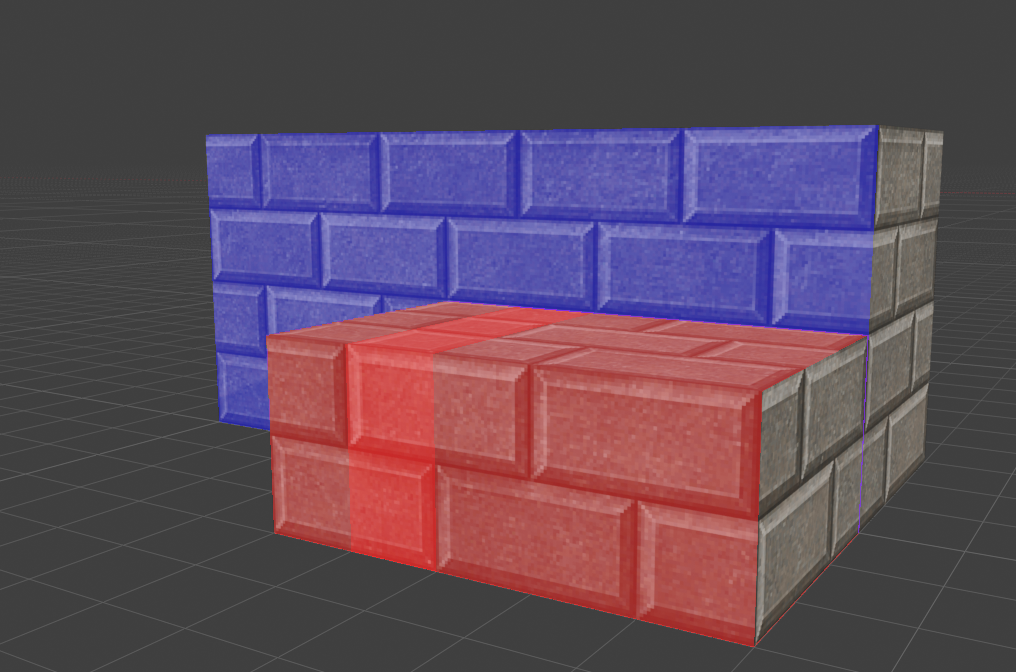
Overlapping faces toggles an overlay to highlight overlapping faces. Opposite normal overlaps are coloured blue. Same normal overlaps are coloured red. The overlay does not live update.