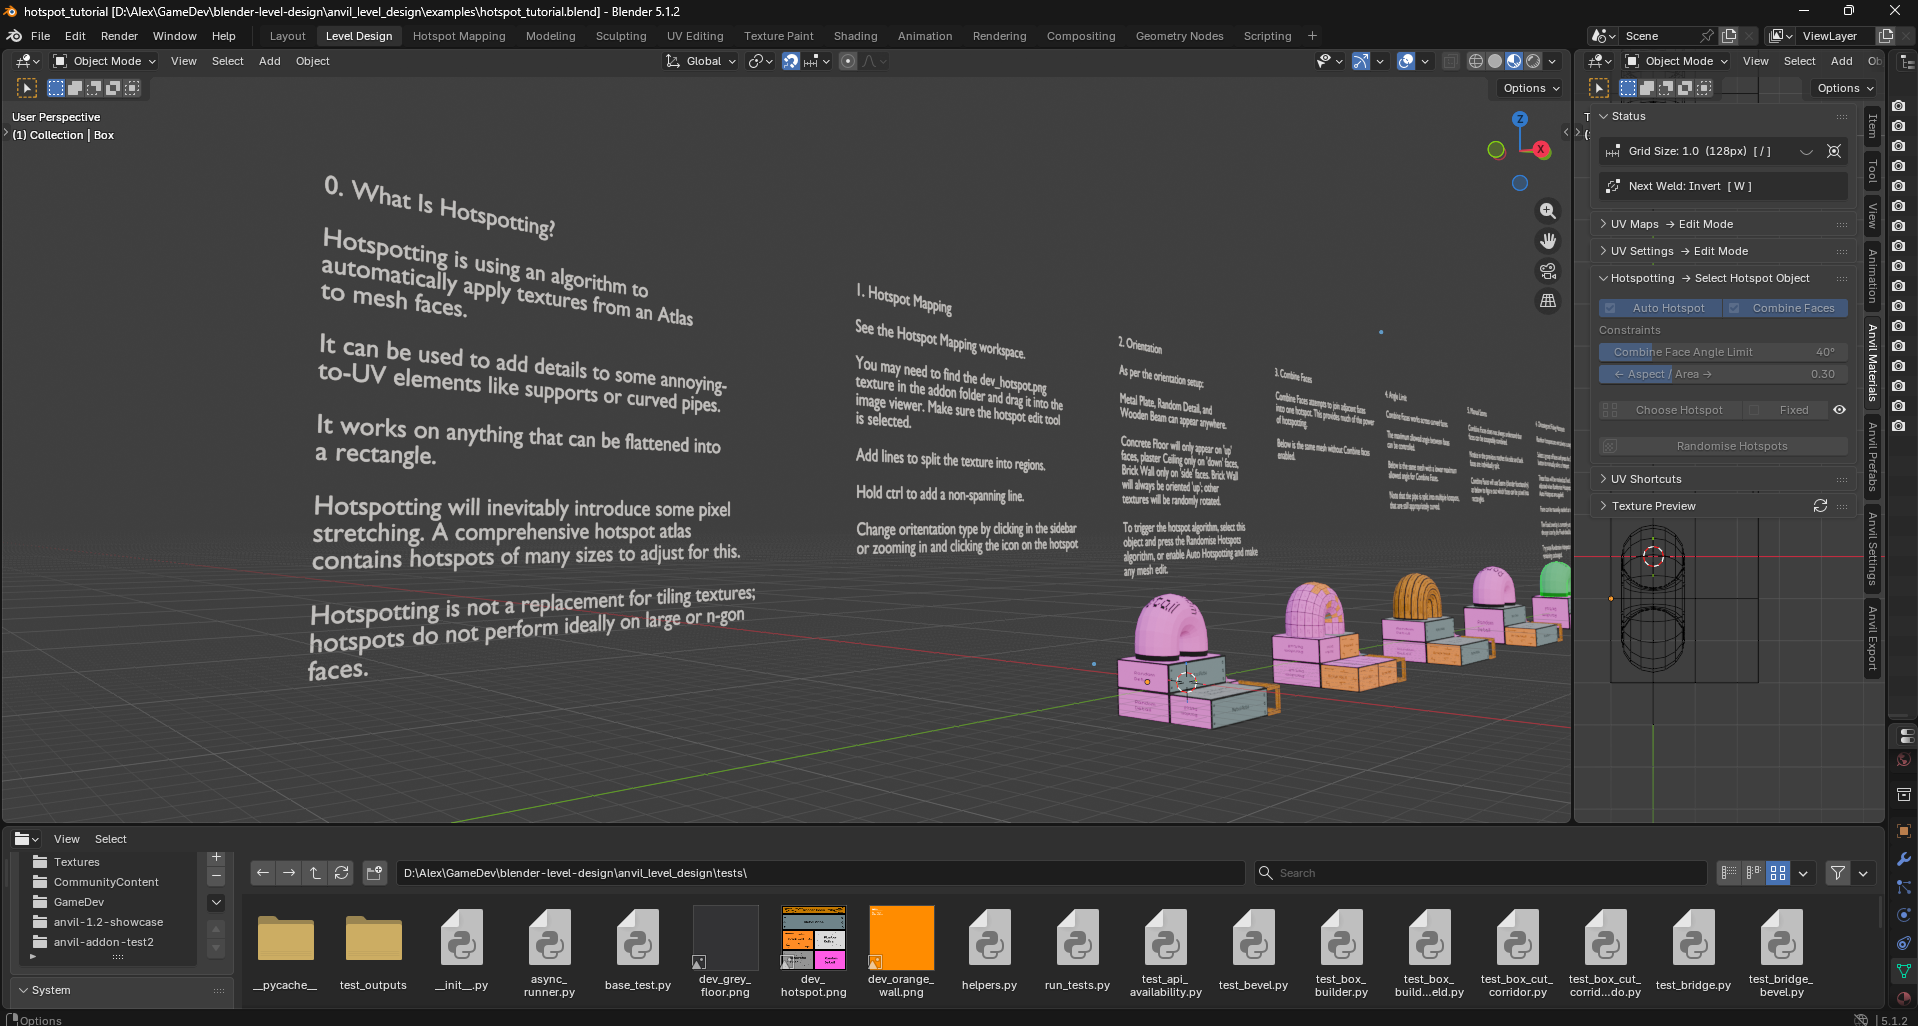
Hotspots
Hotspotting is the technique of automatically applying image atlas tiles to mesh faces, based on size and aspect ratio.
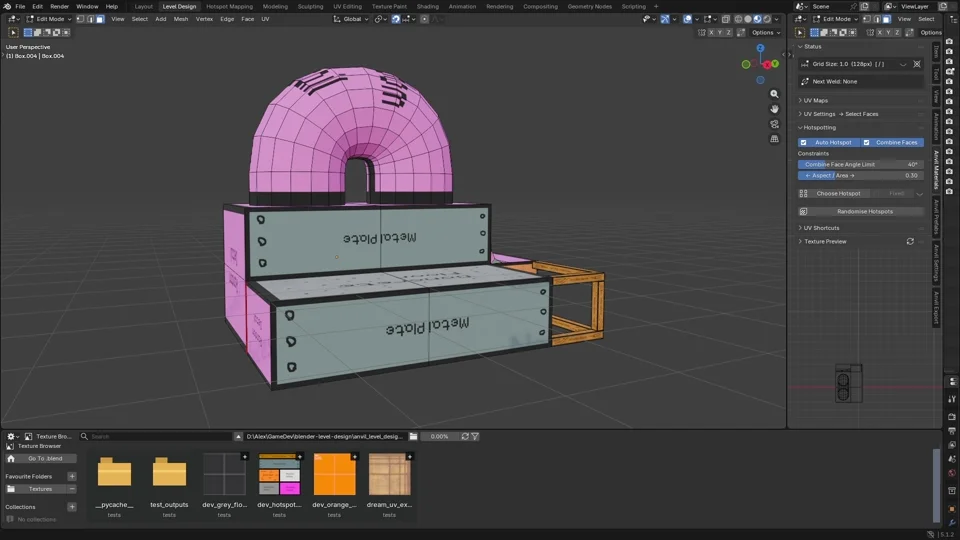
The Dream UV example texture adds wear and tear to the edges of each metal plate. This mesh has no bevels, uses one material, and did not require any effort to UV!
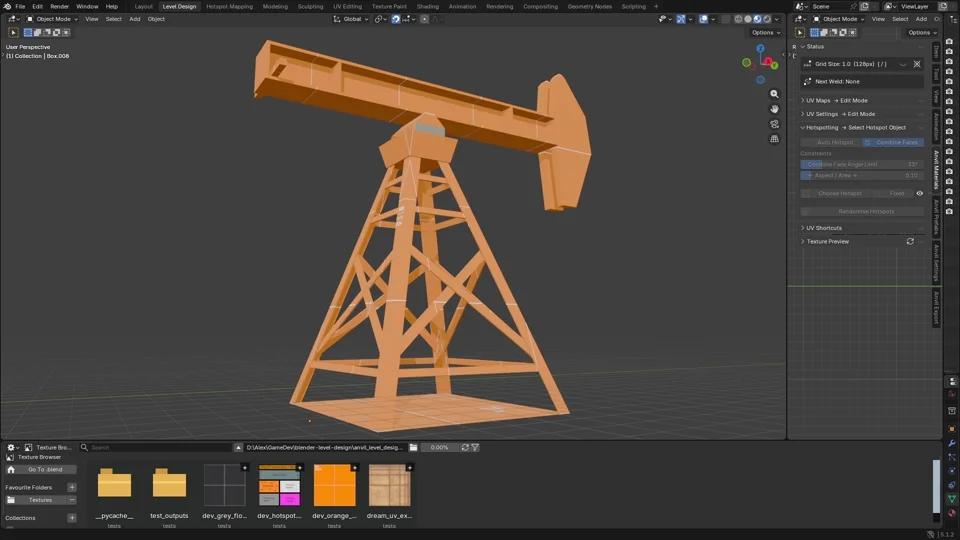
Anvil includes a .blend file containing annotated hotspot examples. See /example/hotspot_tutorial.blend.
Authoring
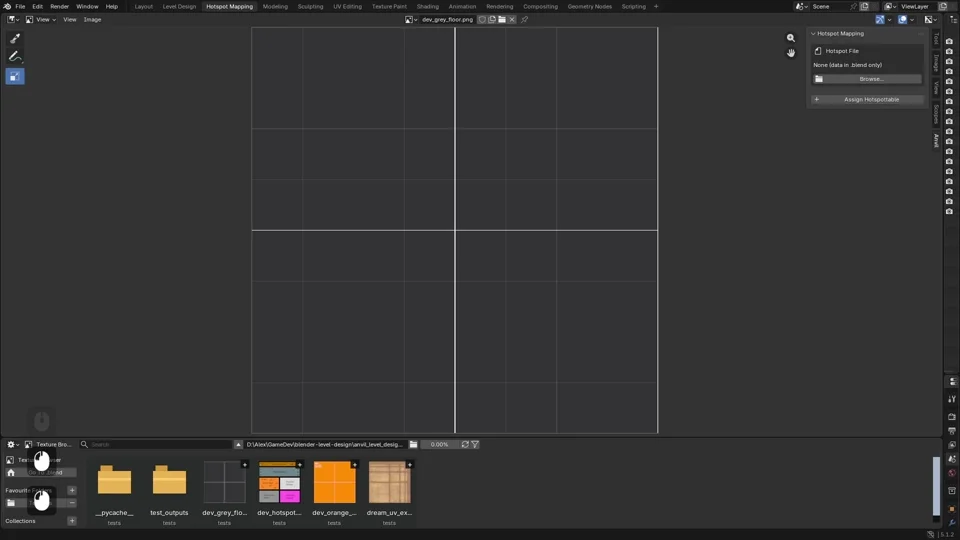
Enter the Hotspot Mapping workspace.
Select an image to map in the texture browser at the bottom of the workspace.
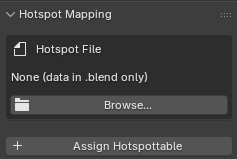
Optional: Choose or create a hotspot file. This saves hotspot mapping data to a .json file that can be shared across .blend files. If not created, hotspot mapping information will be saved in the current .blend file.
Click Assign Hotspottable.
Once an image has been marked hotspottable, mark hotspots by Left Mouse to add a cut across the whole image.
[ / ] changes snap size.
Use Ctrl to cut only the hovered cell.
Cut direction is based on the closest edge to the cursor.
Clicking near the centre of a cell will not add a cut.
Click the icon in the centre of a cell to change the orientation type (see past the video).
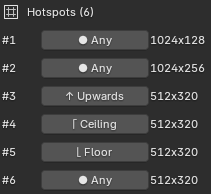
There are 4 orientation types:
- Any: the hotspot will be applied to surface regardless of face orientation, and may be applied at any rotation.
- Upwards: the hotspot will be applied only to surfaces that are near vertical, and the rotation is locked ‘upwards’. Most appropriate for walls and text.
- Floor: the hotspot will be applied only to surfaces with an upwards normal, and may be applied at any rotation.
- Ceiling: the hotspot will be applied only to surfaces with a downwards normal, and may be applied at any rotation.
The orientation can be changed in the panel also:
Application
In the Level Design workspace the Hotspotting panel exposes Hotspot controls.
To hotspot, apply a hotspot material to a mesh and press Randomise Hotspots.
In object mode, hotspots will be applied to all faces with a hotspottable material applied.
In edit mode, hotspots will be applied to only selected faces.
When Auto Hotspot is enabled, faces will automatically be re-hotspotted on mesh adjustment.
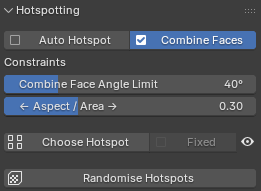
Combining Faces
When Combine Faces is enabled, the hotspot algorithm will group faces that can be ‘simplified’ into a single quad.
Combine Face Angle Limit controls how aligned faces must be to be eligible for combination.
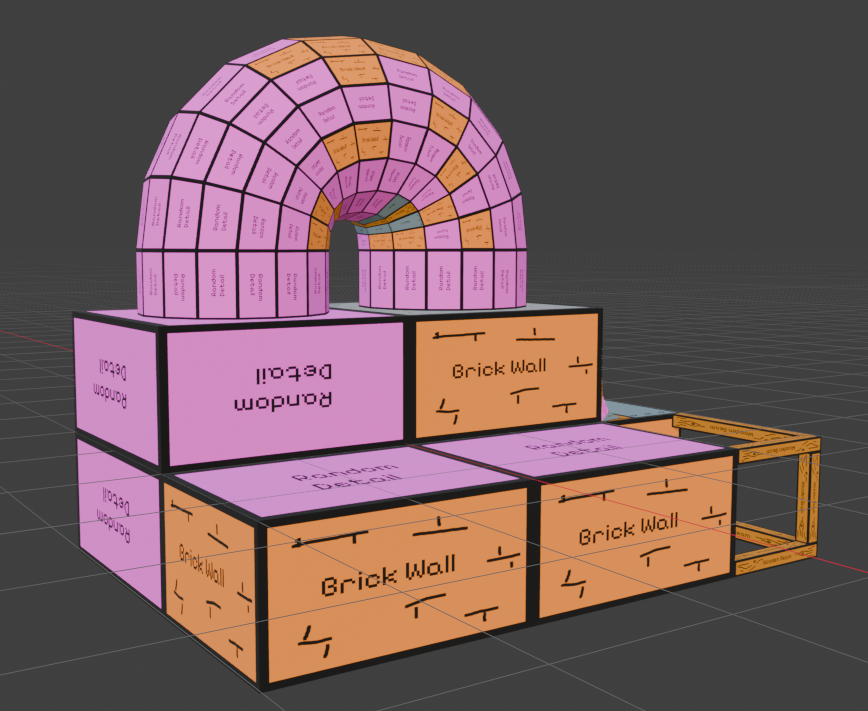
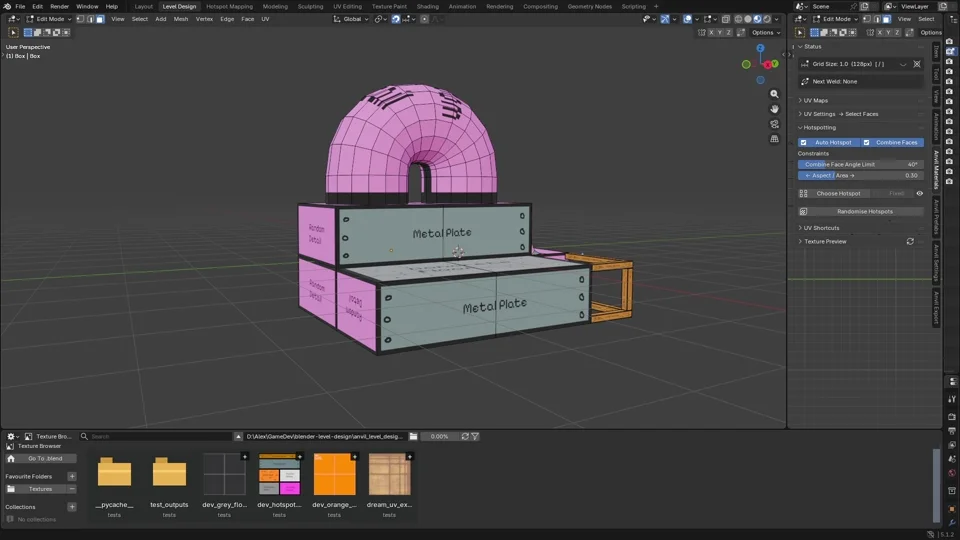
Combine Faces enabled, hotspots are applied to individual faces.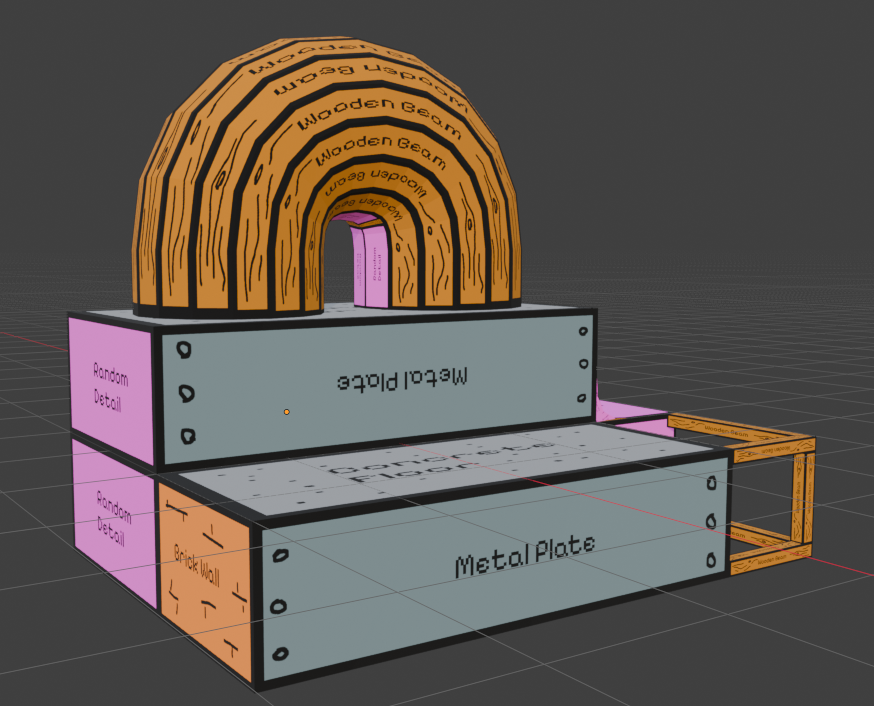
Combine Faces enabled, some faces are combined. Note the ‘steps’ at the front of the mesh, and the strips along the curved tube.
Combine Face Angle Limit can be raised. Combining the faces on the side of the mesh requires a hint to tell the algorithm how to disambiguate: should the corner and top of the ‘L’ be combined, or should the corner and right be combined?
Mark Seam.How Hotspots Are Chosen
The Aspect / Area control determines how the algorithm matches a hotspot area (either a single face or a set of faces that are combined into a rectangular UV) to a tile in the Atlas.
When the slider is all the way to the left, the algorithm only takes into account the aspect ratio of the face and tile. That is, the algorithm will select a tile whose aspect ratio most closely matches the face.
When the slider is all the way to the right, the algorithm only takes into account the size of the face and tile. That is, the algorithm will select a tile whose area most closely matches the face.
Slider values in the middle appropriately weight a matching aspect ratio and size.
Put different, aspect matching priorities squareness of pixels while area matching prioritises density of pixels.
The pixels per meter setting, on the Texture Settings panel (in the Anvil (Settings) side button), controls the desired pixel / Blender unit for area matching.

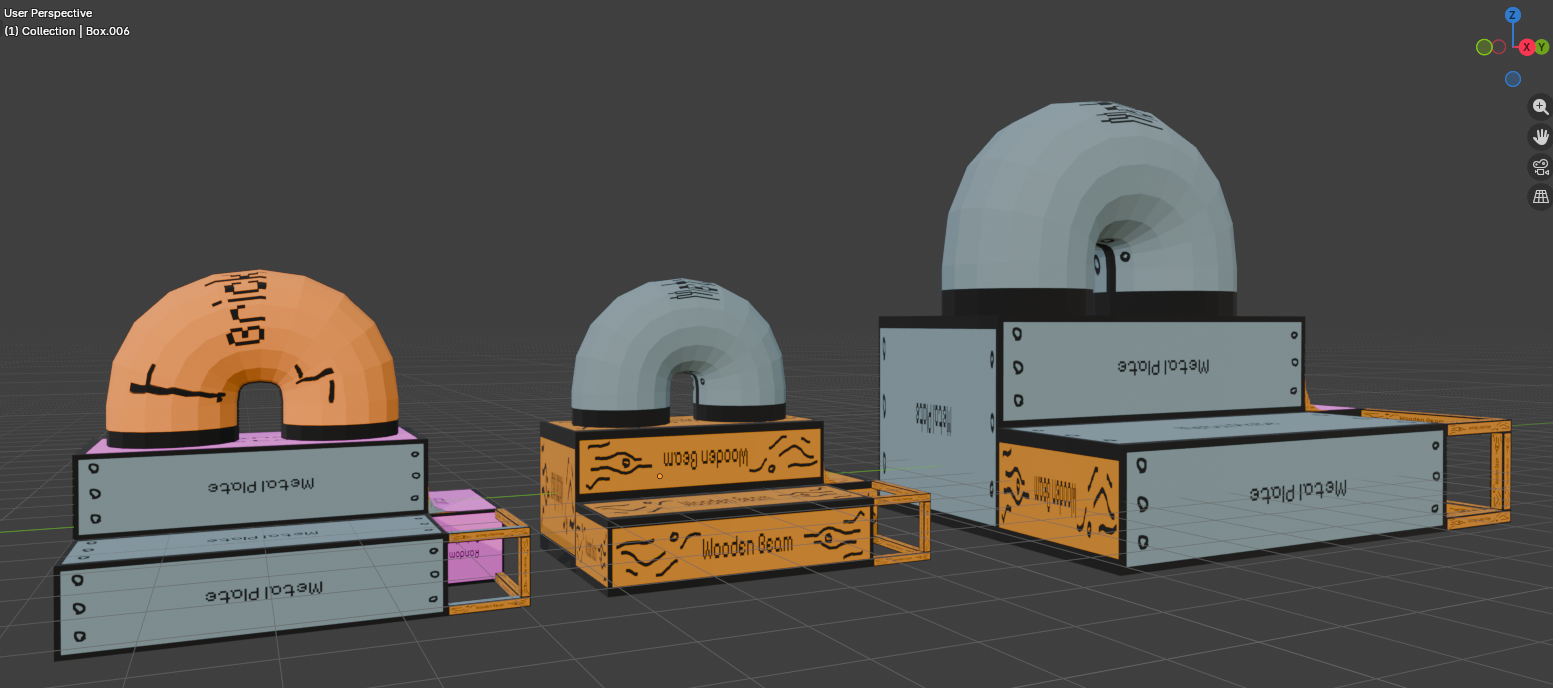
See the image below.
The mesh on the far left has hotspots applied with an aspect ratio leaning weight; note that the front faces have been applied with metal because the aspect ratio is close. We can consider this a base with which to compare.
The mesh in the middle has hotspots applied with an area leaning weight; note that the front faces have been applied with wood because the area match is closer. That is to say: the wooden beam was too long and thin to be applied when we were mostly concerned with aspect ratio. Now we are concerned with size, the “smaller” image of wood is prioritised for this “small” mesh / face.
The mesh on the right has hotspots applied with the same area leaning weight; note that the front faces are back to being metal because the “larger” metal cell is now a closer size match to the “larger” mesh / face.
Manual Control
Hotspots can be applied manually.
With faces selected, select Choose Hotspot and pick an atlas item from the pop-up palette.
Faces eligible to be combined will be.
When manually applied, faces will be marked as fixed. Randomise Hotspots and Auto Hotspot will not affect fixed faces.
Faces can be manually marked and unmarked as fixed in the Hotspotting panel. The eye icon will toggle an overlay highlighting fixed faces.